
GOTHIC TUTORIAL
Tutorial written by Marcia Salgado on May 10th, 2015
for those who have a working knowledge of PSP.
Any resemblance to any other tutorial is coincidental.
Do not copy and paste this tutorial anywhere on the net.
If you want to translate please ask first.
****************************************
Material:
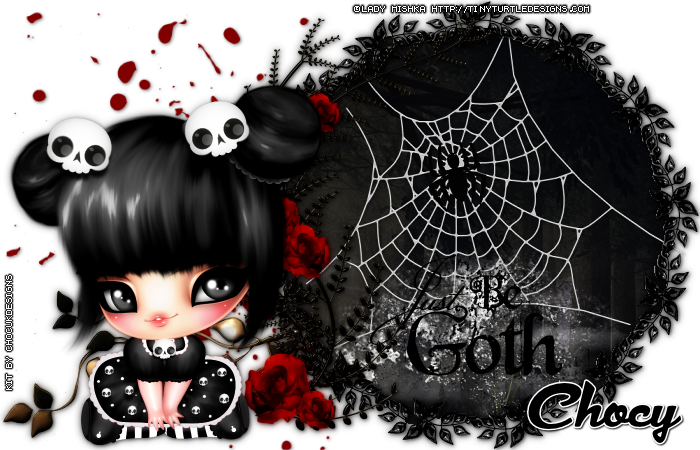
PTU Kit "Gothicfornia Dreaming" by ChocUKDesigns,
you can purchase it at:
Font: Dynascript
****************************************
--> Remember to save often and use my tag as reference if necessary. Used the Drop Shadow: 1-1-50-5 in most layers.
1. Create a new image of 700x450. Open frame '6'. Resize 75%. Copy and paste as new layer. Effects > Image Effects > Offset > Horizontal:125, Vertical:0, Edge Mode: Transparent. Select inside the frame. Expand > 2. Add a new layer. Open paper '15'. Resize 75%. Copy and paste as new layer. Place it as you wish. Invert selection. Delete.
2. Open element '172'. Resize 75%. Mirror. Copy and paste as new layer. Move it down left. Move it under all frames.
3. Click on first layer. Open element '157'. Resize 70%. Copy and paste as new layer. Move it inside frame and arrange it below frame layer. Open element '152'. Copy and paste as new layer. Move it inside the frame and place it at bottom.
4. Click on first layer (frame layer), open element '187'. Copy and paste as new layer. Move a little to left. Place it over the left frame border.
5. Open element '194'. Copy and paste as new layer. Move it down left.
6. Open element '176'. Copy and paste as new layer. Move it way left and arrange it under all frames.
--> Add your copyright info and license# if needed. Add your name and save as PNG.